To pass the hazard perception test you need 44 out of 75 across 14 video clips containing 15 developing hazards. You click the mouse as each hazard starts to develop, earning up to five points for the earliest genuine response, dropping to zero the later you react. Clicking in a continuous stream to game the system voids your score for that clip, so respond deliberately, not frantically.
This guide explains the scoring windows, what counts as a developing hazard, the click technique that maximises your score, and how to practise so the format holds no surprises on the day.
How does the hazard perception test work?
The hazard perception test is the second half of the theory test, taken straight after the multiple-choice section. You watch a series of short video clips filmed from behind the wheel of a moving car, and you click the mouse the moment you spot a hazard developing.
There are 14 clips containing 15 scoreable hazards. Thirteen clips have one developing hazard each and one clip has two, which is why the hazard count is 15 rather than 14. The section is scored out of 75, and the pass mark is 44. You cannot pause, rewind or re-watch a clip, so each one is a single chance to respond.
What counts as a developing hazard?
A developing hazard is anything in the clip that would make a real driver take action: slow down, steer away or stop. The test distinguishes between a potential hazard, which you are aware of but which does not yet require action, and a developing hazard, which does.
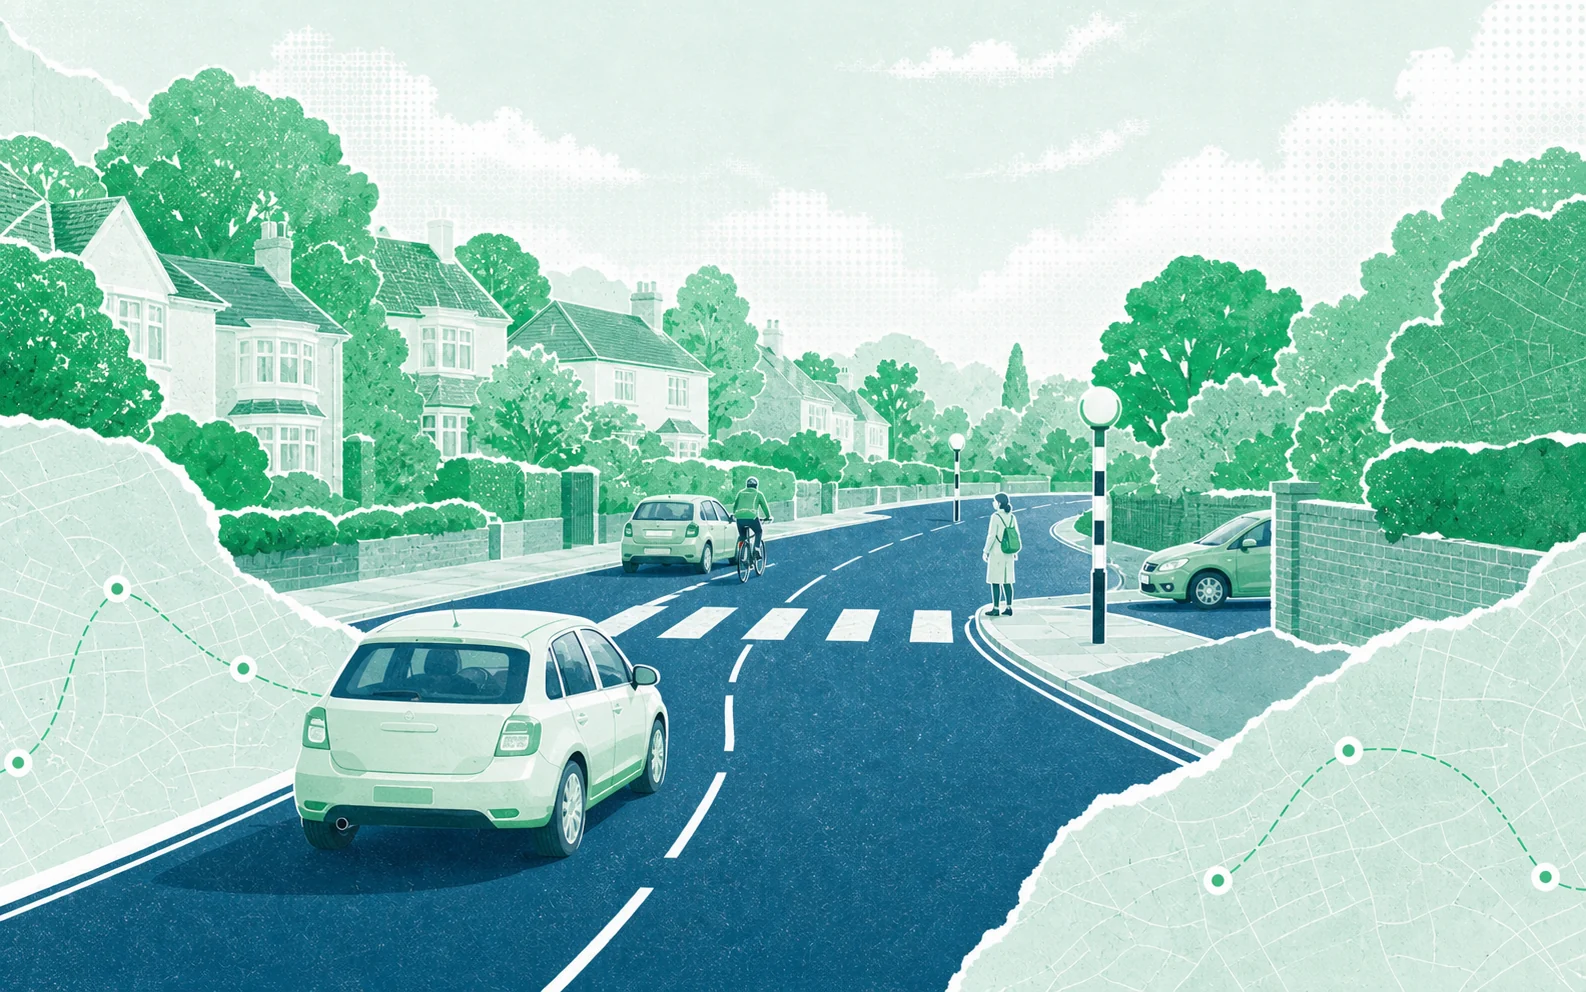
A parked car sitting still is a potential hazard. The moment its indicator flashes, its door opens, or it starts to pull out, it becomes a developing hazard, and that is when the scoring window opens. The skill the test measures is spotting that transition early. Pedestrians about to step off a kerb, cyclists wobbling into your path, and cars emerging from side roads are all classic developing hazards. Learning to read the road this way on your lessons and even as a passenger builds exactly the awareness the test rewards.
How does the scoring window work?
Each developing hazard has a hidden scoring window that opens as the hazard begins to develop and closes as it becomes fully realised. The earlier you click within that window, the more points you score, up to a maximum of five per hazard.
| When you click | Points |
|---|---|
| As soon as the window opens (earliest) | 5 |
| Slightly later | 4 |
| Around the middle of the window | 3 |
| Later still | 2 |
| Just before the window closes | 1 |
| After the window has closed | 0 |
Because you cannot see the window, the safe strategy is to respond as soon as you genuinely believe a hazard is developing. Wait for certainty and you drift towards the low-scoring end of the window or miss it entirely. React early to the real cue and you bank the higher scores.
Can you fail for clicking too much?
Yes. This catches out learners who think clicking constantly guarantees they land inside every window. The test has an anti-cheat mechanism: if you click in a continuous stream or an obvious repeating pattern, you score zero for that clip, no matter how well-timed some of those clicks were.
The system is designed to reward genuine perception, not button-mashing. A handful of deliberate clicks per clip is completely fine; frantic, rhythmic clicking is not. If you find yourself tempted to click non-stop as a safety net, stop: you are risking a zero on clips you would otherwise have scored well.
What is the best clicking technique?
Use purposeful clicks, not a fixed count and not a stream. A widely used technique is to click once when you first notice a potential hazard and again as it clearly develops. This gives you two genuine chances to fall inside the scoring window without triggering the anti-cheat rule.
Keep these habits in mind for each clip:
- Scan the whole scene, not just the centre of the road: hazards appear from side roads, pavements and parked vehicles.
- Click on the cue, the moment something changes: a door, an indicator, a pedestrian shifting weight towards the kerb.
- Add a second confirming click as the hazard develops further, as insurance against a slightly early or late first click.
- Do not click again and again. Resist the urge to fill the gaps, or you risk the pattern penalty.
The goal is to look like a genuinely alert driver responding to real events, because that is exactly what the software is built to detect.
How should you practise for the hazard perception test?
Practise with the official DVSA hazard perception clips, because they use the same filming style and scoring as the real test. Unofficial or free clips often use different timing and can teach you to click at the wrong moments, which does not transfer to the actual test.
Build a short, regular practice routine in the weeks before your test. After each clip, note which hazards you missed and why, so you learn to spot the earlier cues next time. Crucially, hazard perception is a real driving skill, not just an exam technique: actively looking for developing hazards during your lessons and when you are a passenger sharpens the same instinct. Our broader theory test revision tips cover how to fit hazard practice around your multiple-choice revision.
What are the most common hazard perception mistakes?
Most failures come down to a handful of repeated errors. Knowing them in advance is half the battle.
- Clicking too late. Waiting until you are certain a hazard is real usually means you have already lost the top points, or missed the window entirely. React to the early cue.
- Clicking too much. Continuous or patterned clicking triggers the anti-cheat rule and voids the clip. Deliberate clicks only.
- Tunnel vision. Staring at the centre of the road means missing hazards from side roads, pavements and parked cars. Keep scanning wide.
- Reacting to potential, not developing, hazards. A parked car that never moves is not scoreable; wait for the change that makes it develop.
- Panicking after a bad clip. Each clip is scored independently, so one poor clip does not sink you: reset and focus on the next.
Because you cannot re-watch a clip, treat every one as a fresh start and apply the same calm, deliberate approach throughout.
How does hazard perception fit into passing your test?
Hazard perception is one of two sections you must pass in the same sitting to clear the theory test, and you cannot book your practical driving test until the whole theory test is passed. The same awareness it measures also underpins safe driving on the practical, where failing to spot and respond to hazards is a common fault.
Treat it as a driving skill you are building for life, not a box to tick. If you are still lining up lessons, our guide on how to learn to drive sets out the full journey, and you can find a driving instructor near you on Passly to start building road awareness from your first lesson.